


How to Sew Pointe Shoes: A Detailed Guide

Pointe shoes are what make ballet look so amazing, letting dancers float across the stage on the tips of their toes. But to get them to fit just right, you’ve gotta do a little customizing—making sure they’re snug and supportive but not too tight. That usually means sewing on the elastics and ribbons to make them fit perfectly.
And when it comes to everyday shoes, finding something comfy and reliable is just as important. That’s where brands like Vessi come in. Their waterproof, comfy shoes are perfect for life off the stage.
Now, let’s dive into how to sew your pointe shoes so they fit like a dream and are ready for performance!
Understanding Pointe Shoes: Beyond Basics
Anatomy of a pointe shoe
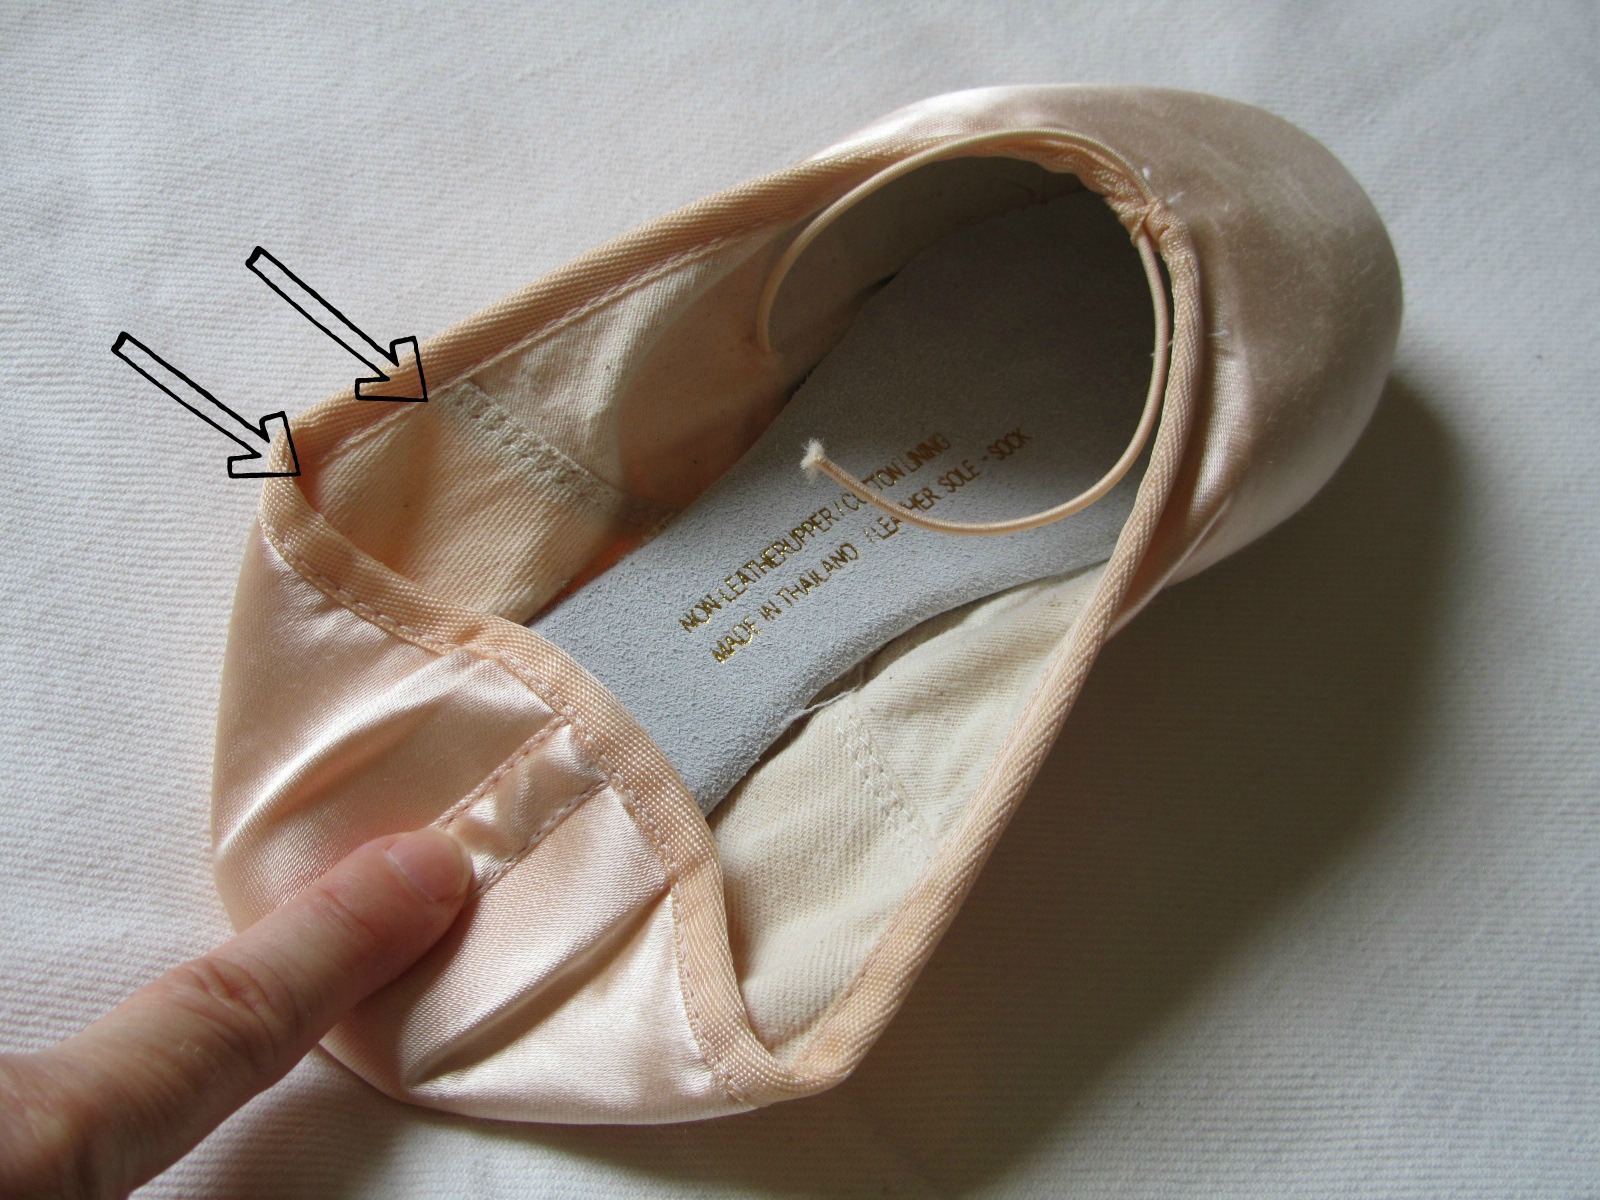
Image Credits: pointetilyoudrop.com
Knowing the different parts of a pointe shoe can really help you get the perfect fit.
-
Box: This part covers and supports your toes. There are lots of options for shape and stiffness, depending on what works best for your feet.
-
Shank: The piece that gives the shoe stiffness under your arch. Shanks come in different strengths to match your needs.
-
Vamp: The front part of the shoe that holds your foot when you're pointing.
-
Platform: The flat tip where you balance when you're on pointe.
-
Inner sole: The bottom of the shoe, where the shank sits.
-
Heel: This supports and protects your heel and comes in different heights.
Materials and Tools Needed in Sewing Pointe Shoes
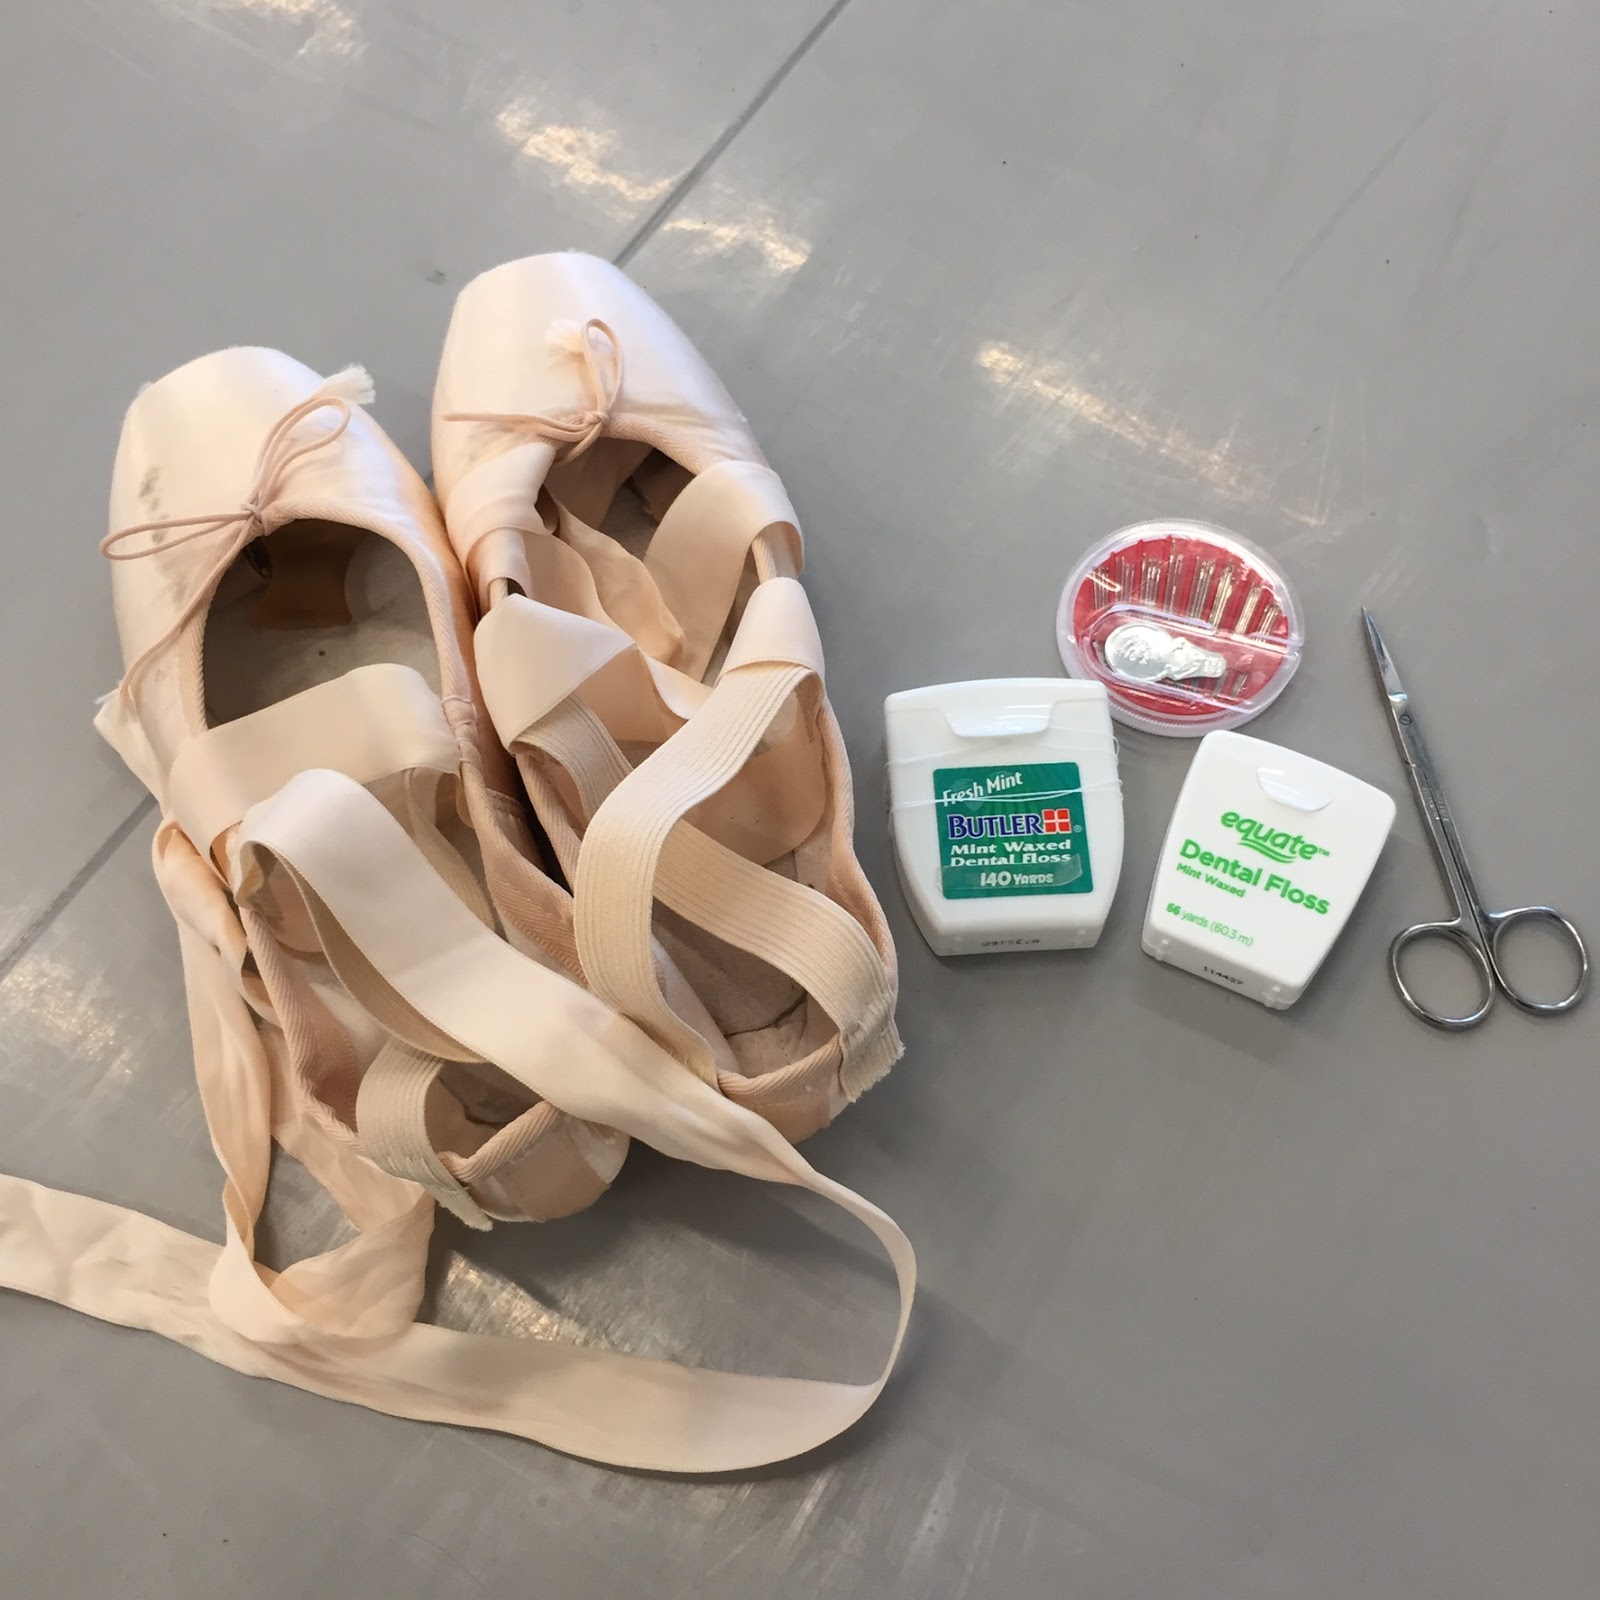
Image Credits: joficina.com
Before diving into the sewing process, you need to gather the proper materials and tools:
-
Pointe shoes: To choose the right shoes for your feet, consult a professional fitter.
-
There are three types of pointe ribbons, but satin ribbons (generally 7/8" wide) are recommended.
-
Elastic (usually 1/2" or 3/4" wide): attach these to your shoes.
-
Scissors: These are used to cut the ribbons and elastic to size.
-
Thread (e.g., waxed dental floss, button thread, or upholstery thread): it's best to choose a strong nylon thread that matches the color of the shoes and ribbons.
-
Needles (a heavy-duty, sharp needle is ideal): a needle that can still pierce the fabric of the shoes.
-
Thimble: This will protect your fingers while sewing.
-
Pencil or tailor's chalk: Mark the position where you will sew the ribbons and elastic.
-
Measuring tape: Measure the correct length of ribbons and elastic.
-
Lighter or fray check: seal the edges of the ribbons to prevent fraying.
-
Seam ripper (optional)
How to Sew Ribbons on Pointe Shoes
Here's a step-by-step guide on sewing ribbons onto pointe shoes:
-
Get your stuff ready: Make sure you have everything you need to sew the ribbons. Each ribbon should be about 22 inches long. Also, if your shoes aren’t clean, give them a quick wipe down—no one wants dirt on them!
-
Pin the ribbons: Put your pointe shoes on and tie the ribbons around your ankle to figure out where you want them to go. Then, pin them in place to keep everything secure. The ribbons should cross over the top of your foot and wrap around your ankle.
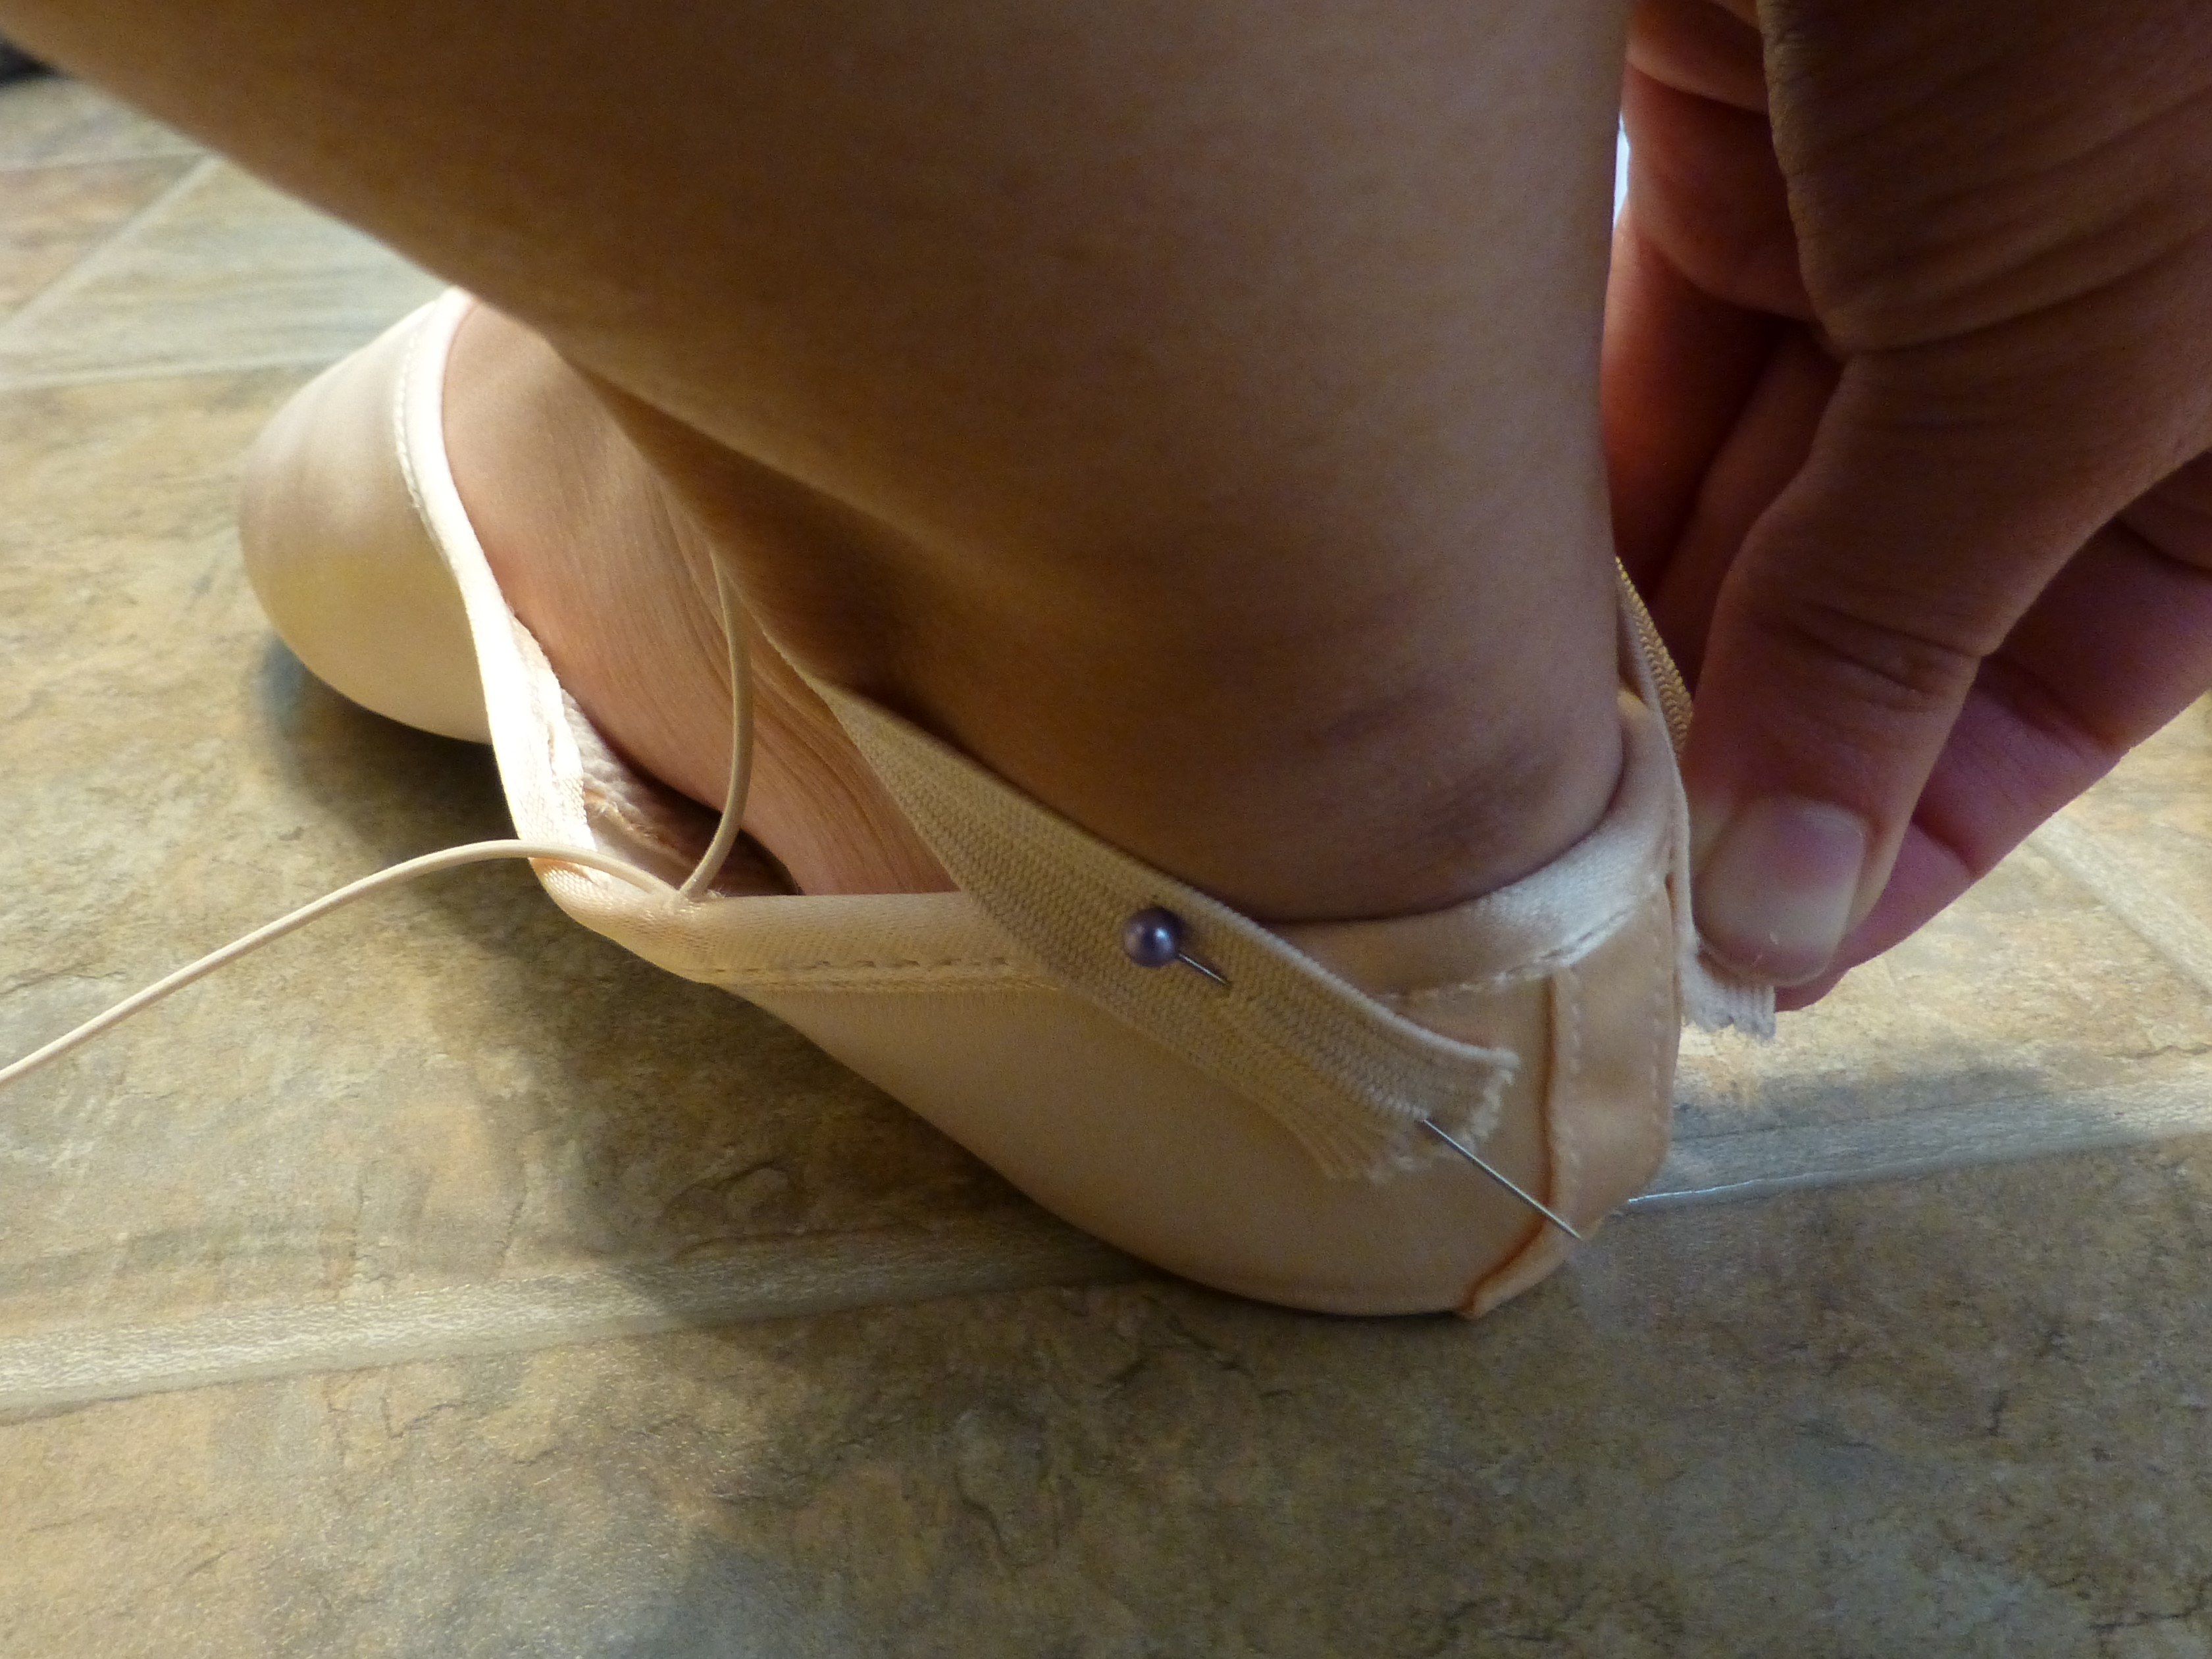
Image Credits: danceinsight.com
-
Mark the placement: Put on the shoes with the pinned ribbons and figure out the best spot for them on the inside and outside of each shoe. You can use a pencil or chalk to mark the spots.
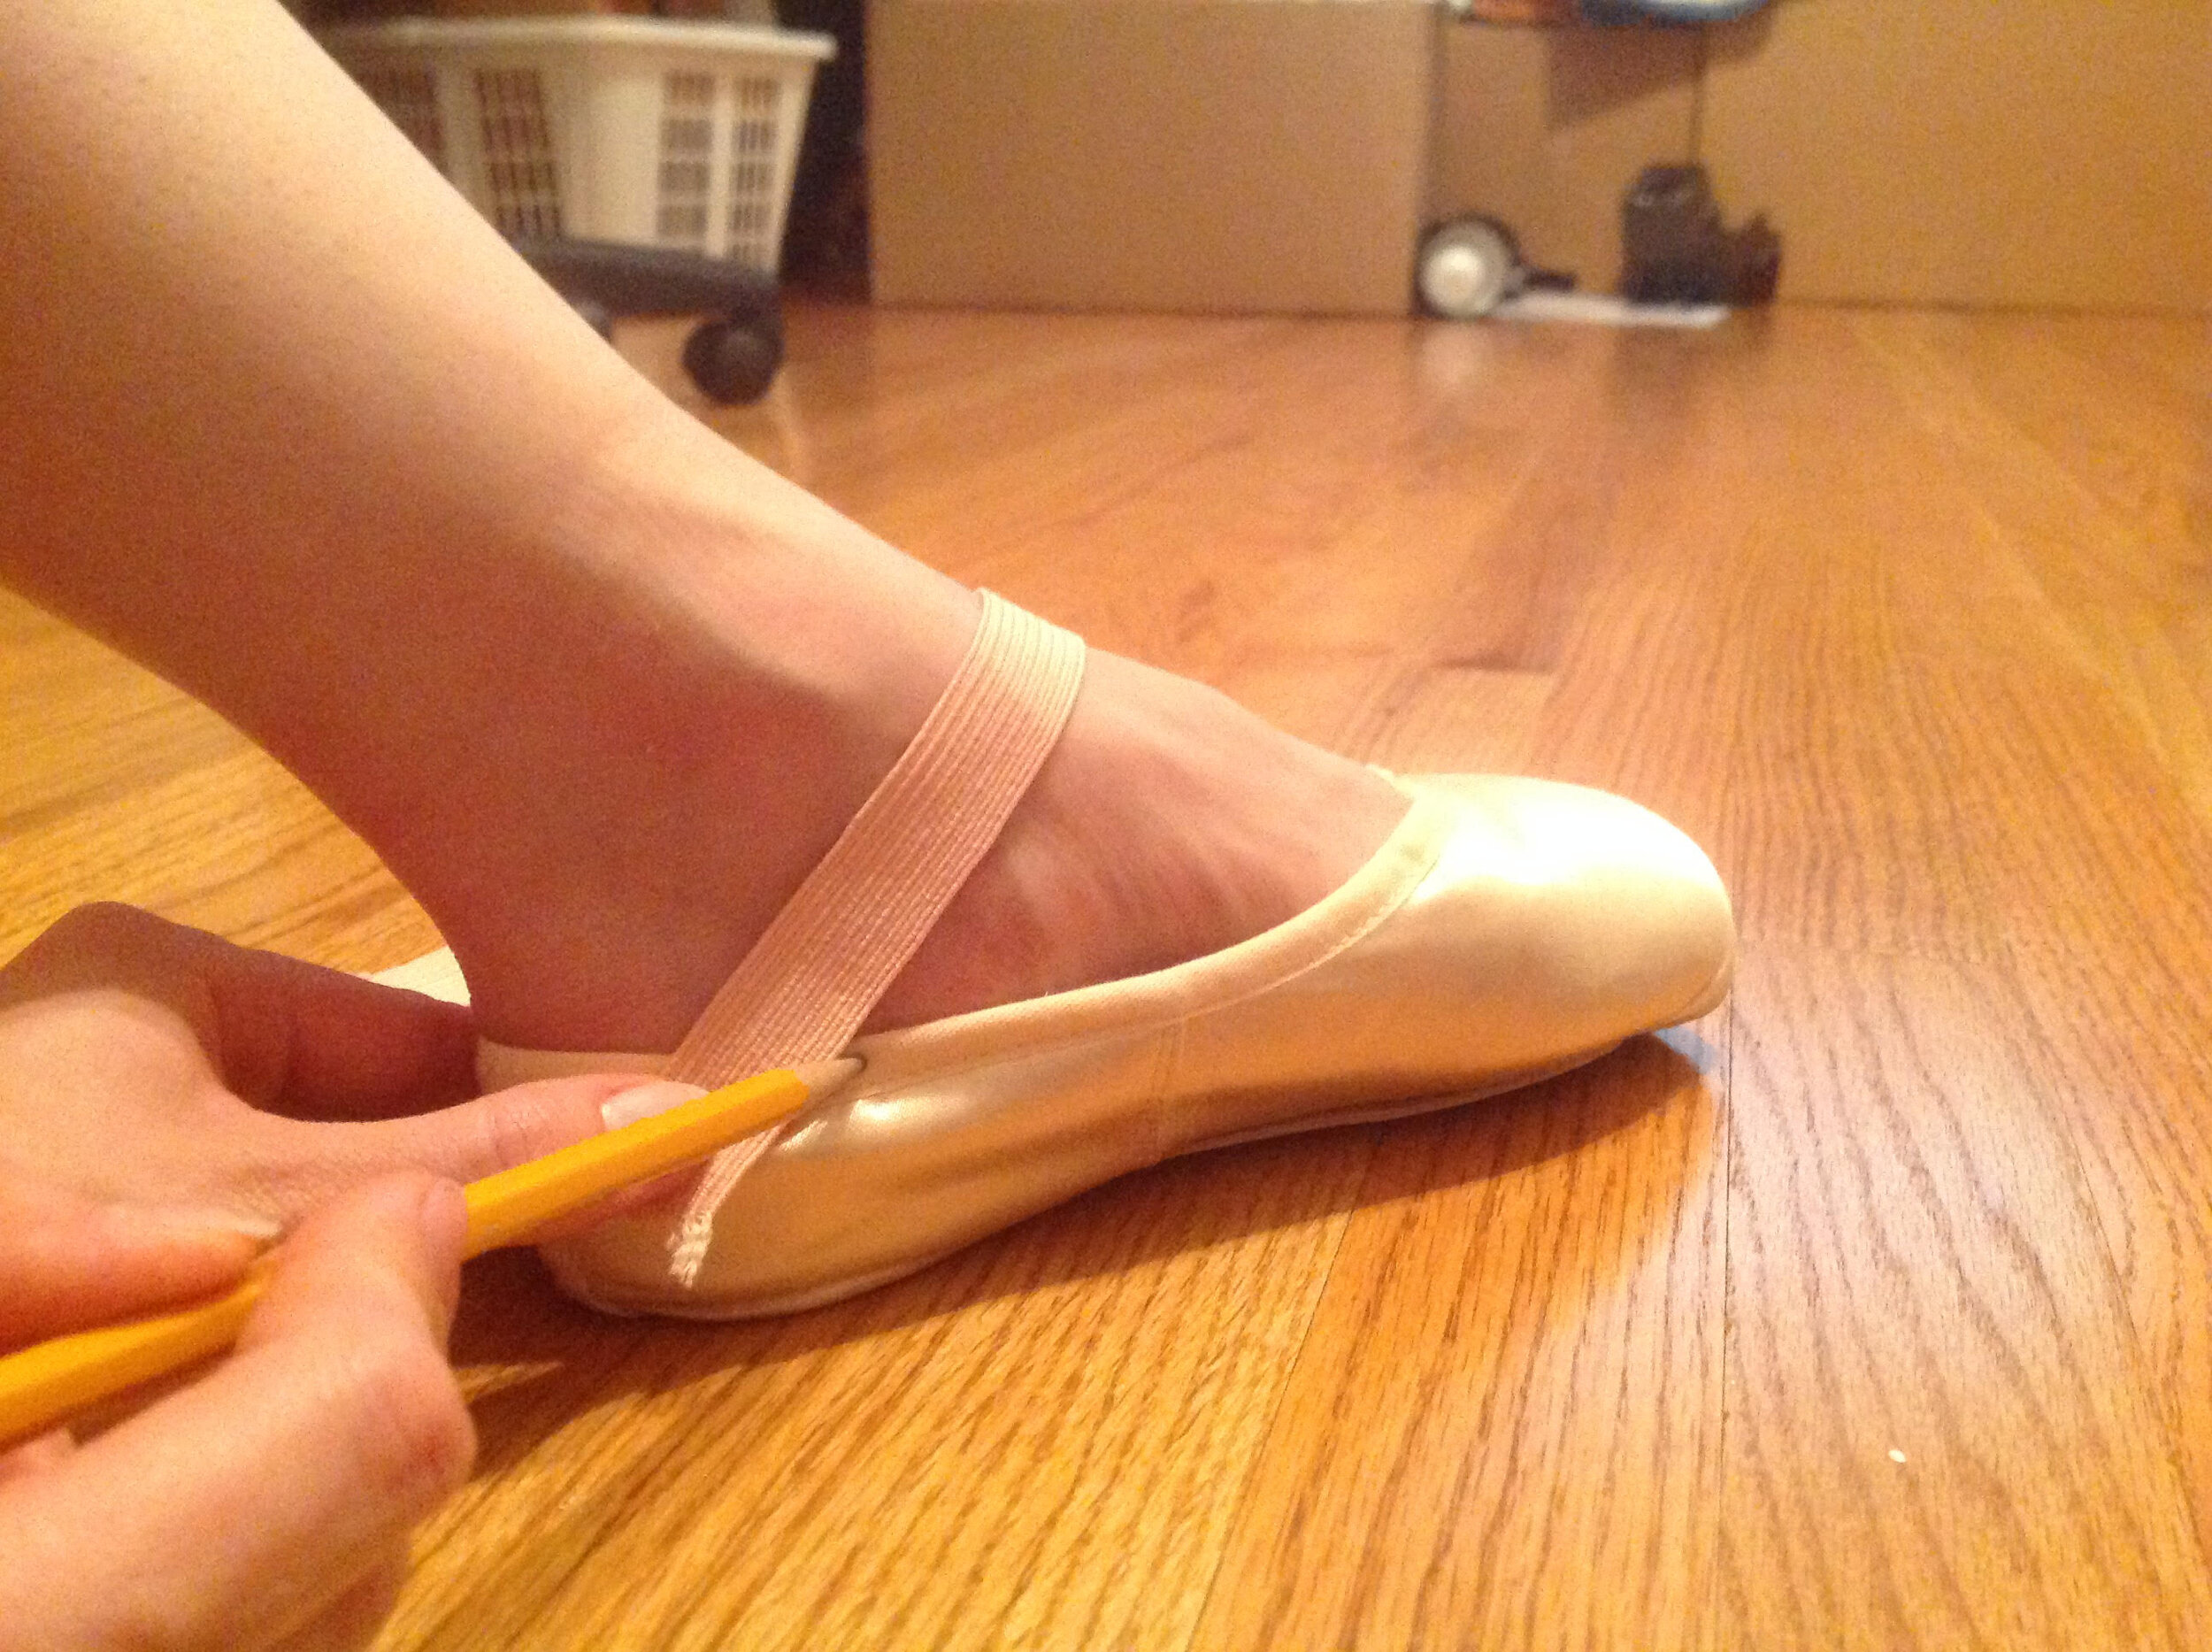
Image Credits: scholofballet58.org
-
Trim and fold: Take the shoes off and trim the ribbons to the right length, leaving a little extra for folding. Fold the ends under so they won’t fray.
-
Thread the needle: Grab a needle, thread it, and tie a knot at the end.
-
Sew the ribbons: Start from the inside of the shoe and sew through the lining, going through one of the marked spots. Sew through the folded end of the ribbon, pulling it tight—but not too tight!

Image Credits: statesboroschoolofdance.com
-
Secure the ribbon: Sew the ribbon on tight, but not too tight. Just a few stitches to keep it in place. You want it to be secure but neat—so make small stitches for a sturdy attachment. Do this on both the inside and outside of the ribbon.
-
Crossing the ribbons: After securely attaching both ribbons, cross them over your instep and wrap them around your ankle. Check the fit and, if needed, adjust the tightness.

Image Credits: ballerinasbynight.com
-
Sew the other ends: Now, do the same thing you did before—sew the other ends of the ribbons to the opposite side of the shoe.
-
Knot and trim: Once both ribbons are sewn on, knot the thread inside the shoe and snip off any extra thread.
-
Repeat for the second shoe: Just do the same thing for the other shoe.
-
Test and adjust: Put both shoes on and see how they feel. Adjust the ribbons if you need to for a comfy fit and good support.
How to Sew Elastic on Pointe Shoes
Here's a step-by-step guide on how to sew elastic onto pointe shoes:
-
Prepare your materials: First things first—make sure you’ve broken in your pointe shoes so they’re comfy. Then, grab everything you’ll need, and don’t forget to attach the elastic.
-
Measure and cut elastic: If you didn’t pick up pre-cut elastic, no worries! Just measure and cut two pieces about 6-8 inches (15-20 cm) long. The exact length depends on your foot size and how snug you want it. Test it out before cutting to make sure it’s comfy and not too tight..
-
Pin elastic in place: Put your pointe shoes on and position the elastic so it crosses the back seam of the shoe at a slight angle—just above the heel seam. The elastic should sit snugly over your Achilles tendon, giving you a secure fit. Use sewing pins to temporarily hold it in place.
-
Sew the elastic: Thread your needle, tie a knot at the end, and start sewing from the inside of the shoe. Push the needle through the lining and one end of the elastic. Make a few stitches to keep it secure, making sure the elastic is tight enough to hold but not so tight that it’s uncomfortable

Image Credits: inspirationdancewear.com
-
Stitching pattern: If you want extra strength, try a crisscross stitch. Use your needle and thread to sew through the elastic and the shoe's lining in a diagonal 'X' pattern. Just be careful not to sew all the way through to the outside of the shoe—that could mess with the fit and look.
-
Repeat for the other end: Once one side of the elastic is sewn on, move to the other end of the same piece. Sew it to the opposite side of the shoe, just like you did before.
-
Repeat for the second elastic: Now grab the second piece of elastic and do the same thing. Sew it right above the first one to give your arch extra support.
-
Knot and trim: Once both elastic pieces are sewn on, knot the thread securely on the inside of the shoe. Then snip off any extra thread, and you’re good to go!
Image Credits: straighttothepointe.net
-
Test and adjust: Slip on both shoes and give them a try. The elastic should feel snug but not like it’s cutting off circulation. If something feels weird, don’t worry—just adjust it until it’s comfy.
-
Repeat for the other shoe: Once you’ve got one shoe figured out, do the same thing for the other. You’re basically a pro at this now.
-
Final adjustments: Walk around, maybe try a few moves, and make sure everything feels right. If the elastic needs a little tweaking, go for it. Comfort is key, so take your time getting it just how you like it.
Tips
Here are a few point shoe hacks:
-
Paint the shoes or match the color of the thread to the ribbon and elastic.
-
If you're struggling to push the needle through the shoe, pliers can help.
-
Ensure not to sew through the drawstring or any shoe part that needs to move with your foot.
-
If you're unsure of the fit, baste everything in place first (using loose, temporary stitches) to test it out before final sewing.
Frequently Asked Questions on How to Sew Pointe Shoes
1. Can you use a sewing machine to sew pointe shoes?
Technically, yew, you could use a sewing machine, but honestly? It’s not the best idea. Most pros and shoemakers avoid it. Sewing pointe shoes takes precision, and you need to make sure the ribbons and elastics are secure without making the shoes uncomfortable or unsafe.
Hand-sewing gives you way more control over the tension of the ribbons and elastics, which is super important for getting that perfect fit. Plus, pointe shoes are delicate, so it’s just better to go old-school with a needle and thread.
2. Why do pointe shoes need to be sewn?
You have to sew ribbons and elastics onto pointe shoes because they’re what keep everything snug and secure while you’re dancing. Without them, you’d have a hard time balancing or staying comfortable on pointe. It’s all about support, stability, and making sure your shoes work with your feet—not against them.
Conclusion
Sewing pointe shoes isn’t an exact science, and that’s okay. These steps will help you customize your shoes to fit your feet perfectly, giving you the comfort, support, and look you need.
Every dancer is a little different, so if you’re unsure about anything, ask your teacher or someone with experience for tips. Sewing pointe shoes is like any craft—it might take some trial and error, but once you get the hang of it, you’ll have shoes that feel like they’re made just for you. And trust me, that makes all the difference when you’re performing.


