


How to Fix Squeaky Shoes: A Comprehensive Guide

Nothing is more annoying than attempting to enjoy your day while strolling down the street as your shoes are constantly making a squeak-squeak-squeak sound. Squeaky shoes may draw attention for all the wrong reasons. The loudness is not only bothersome, but it may also be humiliating. The good news? Squeaky shoes can be fixed. We'll go over all you need to know in this article to permanently hush those loud bottoms.
But first, let's discuss prevention before moving on to the solutions. If you're sick of putting up with squeaky shoes all the time, it might be time to acquire an elegant pair like Vessi. Vessi shoes are made with comfort, toughness, and practicality in mind. They have lightweight soles, breathable fabric, and 100% waterproof knit material to keep your feet comfy, dry, and—most importantly—quiet.
Now, let’s get into the nitty-gritty of fixing squeaky shoes.
What is the Cause of Squeaky Shoes?
First it’s necessary to know what is making the shoes squeak before determining the ideal solution. This noise can result from different sources:
-
Friction between insole and sole: Loose insoles can rub against the shoe, creating a squeaking sound.
-
Wetness inside the shoe: Moisture trapped inside the shoe makes the shoe squeak..
-
Worn-out soles: Over time, the soles of the shoes may wear down and create friction, leading to squeaking.
Methods to Fix Squeaky Shoes
Let's delve deeper into the various methods to fix squeaking shoes.
1. Fixing the Insole’s Squeaky Noise

Image credit: footwearnews.com
The insole is the shoe's inner part, directly touching your foot's bottom. It uses materials like foam, leather, or fabric. It’s made from stuff, typically, like foam, leather, or fabric. Removable or permanently glued insoles may be placed on the interior of the shoe.
As this insole degrades over time, increased friction and squeaking are inevitable. The sounds are created by sweat or other types of moisture trapped between the insole and the shoe.
Wear and tear is another reason. Over time, when the insole's materials degrade, this causes increased friction and makes your shoes squeak. Lastly, sweat or other forms of moisture can create a squeaking sound when trapped between the insole and the shoe.
a. Apply a lubricant
-
Caution: Always assess before removal. If the insole appears permanently affixed or sewn in, it might be wise to consult a professional cobbler rather than risk damaging the shoe.
-
Insert the tool: Gently slide it under the edge of the insole.
-
Lift gradually: Apply gentle pressure, working around the edges.
-
Be patient: If it's glued, take your time to avoid tearing or damaging it.
Applying a thin layer of baby powder, talcum powder, baking powder, or cornstarch under the insole can absorb moisture and reduce shoe parts rubbing together. Another way is to smear a thin layer of petroleum jelly under the insole so that the parts rub together more smoothly.
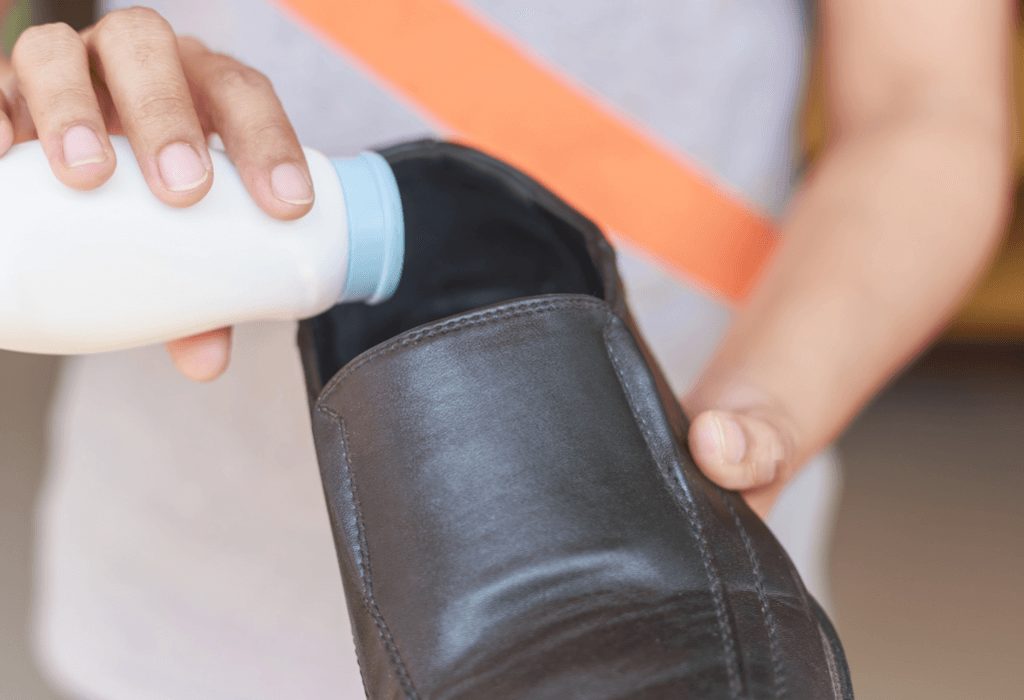
Image credit: realmenrealstyle.com
Follow these steps:
-
Clean the area: Ensure the space under the insole is dry and debris-free.
-
Sprinkle lubricant: Apply a thin layer, distributing it evenly.
-
Replace the insole: Press it back into place firmly.
-
Test: Walk around to see if you have eliminated the squeak.
b. Replace the insole

Image credit: protalus.com
If the insoles are too worn out, it might be best to replace them. Before buying a new pair, consider the following:
-
Matching the shape and size: New insoles must correspond to the original ones, considering the arch type and shoe design.
-
Material consideration: Pick a material that suits your comfort preferences and the shoe's purpose (e.g., sport, formal wear).
-
Fitting process: A proper fit is vital. Ensure no folds or misalignment, which could lead to discomfort or further squeaking. You can solve this by using a dryer sheet under the insole.
2. Addressing the Sole’s Squeaking Noise with Adhesive
Issues with the sole can lead to discomfort, reduced shoe life, and, of course, those irritating squeaks. First off, keep those keen eyes peeled for subtle signs – cracks, separations, or anything that seems to have a bit too much freedom. But don't just rely on sight alone; give things a gentle touch. Press and pull to unveil any hidden weak spots.
This step is important because finding loose things early can stop bigger headaches later on. Depending on what problems you find, you might need different fixes. You could try using glue for one thing or even doing some stitching to patch things up.
Gather the following tools for this method.
-
Shoe glue formulated explicitly for footwear will provide flexibility and strong bonding
-
Soft brush
-
Damp cloth
-
Epoxy resin is a strong alternative but may be less flexible
-
Hairdryer or shoe dryer.
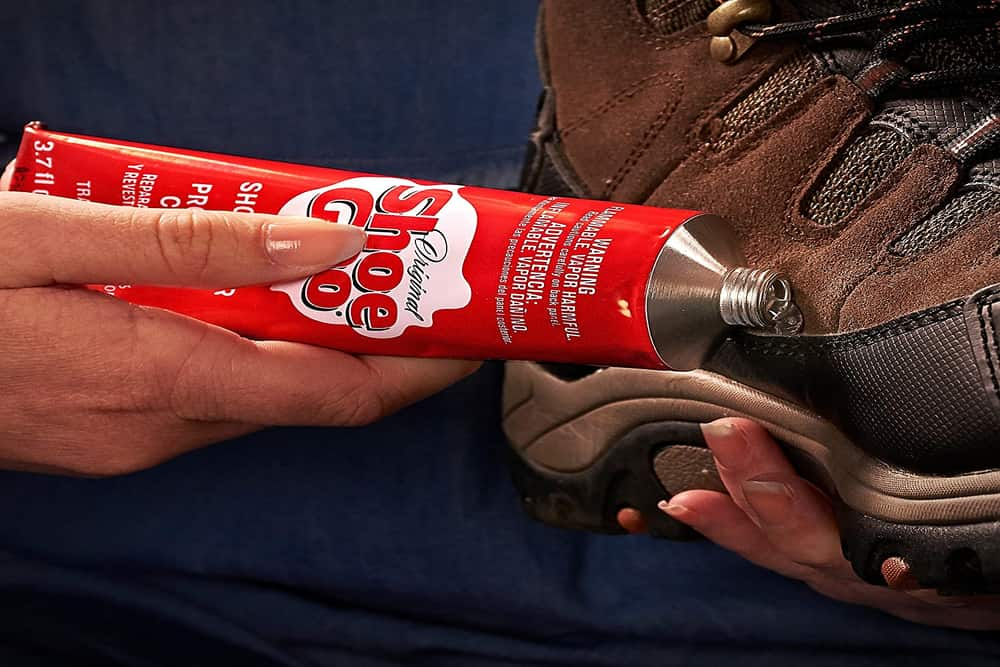
Image credit: aradbranding.com
Remember to watch out for your skin – some glues can irritate your skin or stick to it. And if you're using glue, do it in a well-ventilated area to avoid breathing in any toxic fumes. Next, follow these steps:
-
Clean the area: Remove dirt and debris using alcohol or a cleaning solution.
-
Apply adhesive: Use sparingly to prevent overflow.
-
Press together: Apply pressure using clamps or by wearing the shoe.
-
Allow to dry: Follow the instructions on the adhesive packaging.
3. Working on Leather Shoes
Over time, leather can become dry and stiff, increasing friction. This just ends up making an undesired squeaking sound. In addition, too much moisture can also cause the leather to squeak. Also, certain general degradation may lead to squeaking in all or some of the shoe parts, e.g. where the leather rubs against other materials.
a. Using leather conditioner
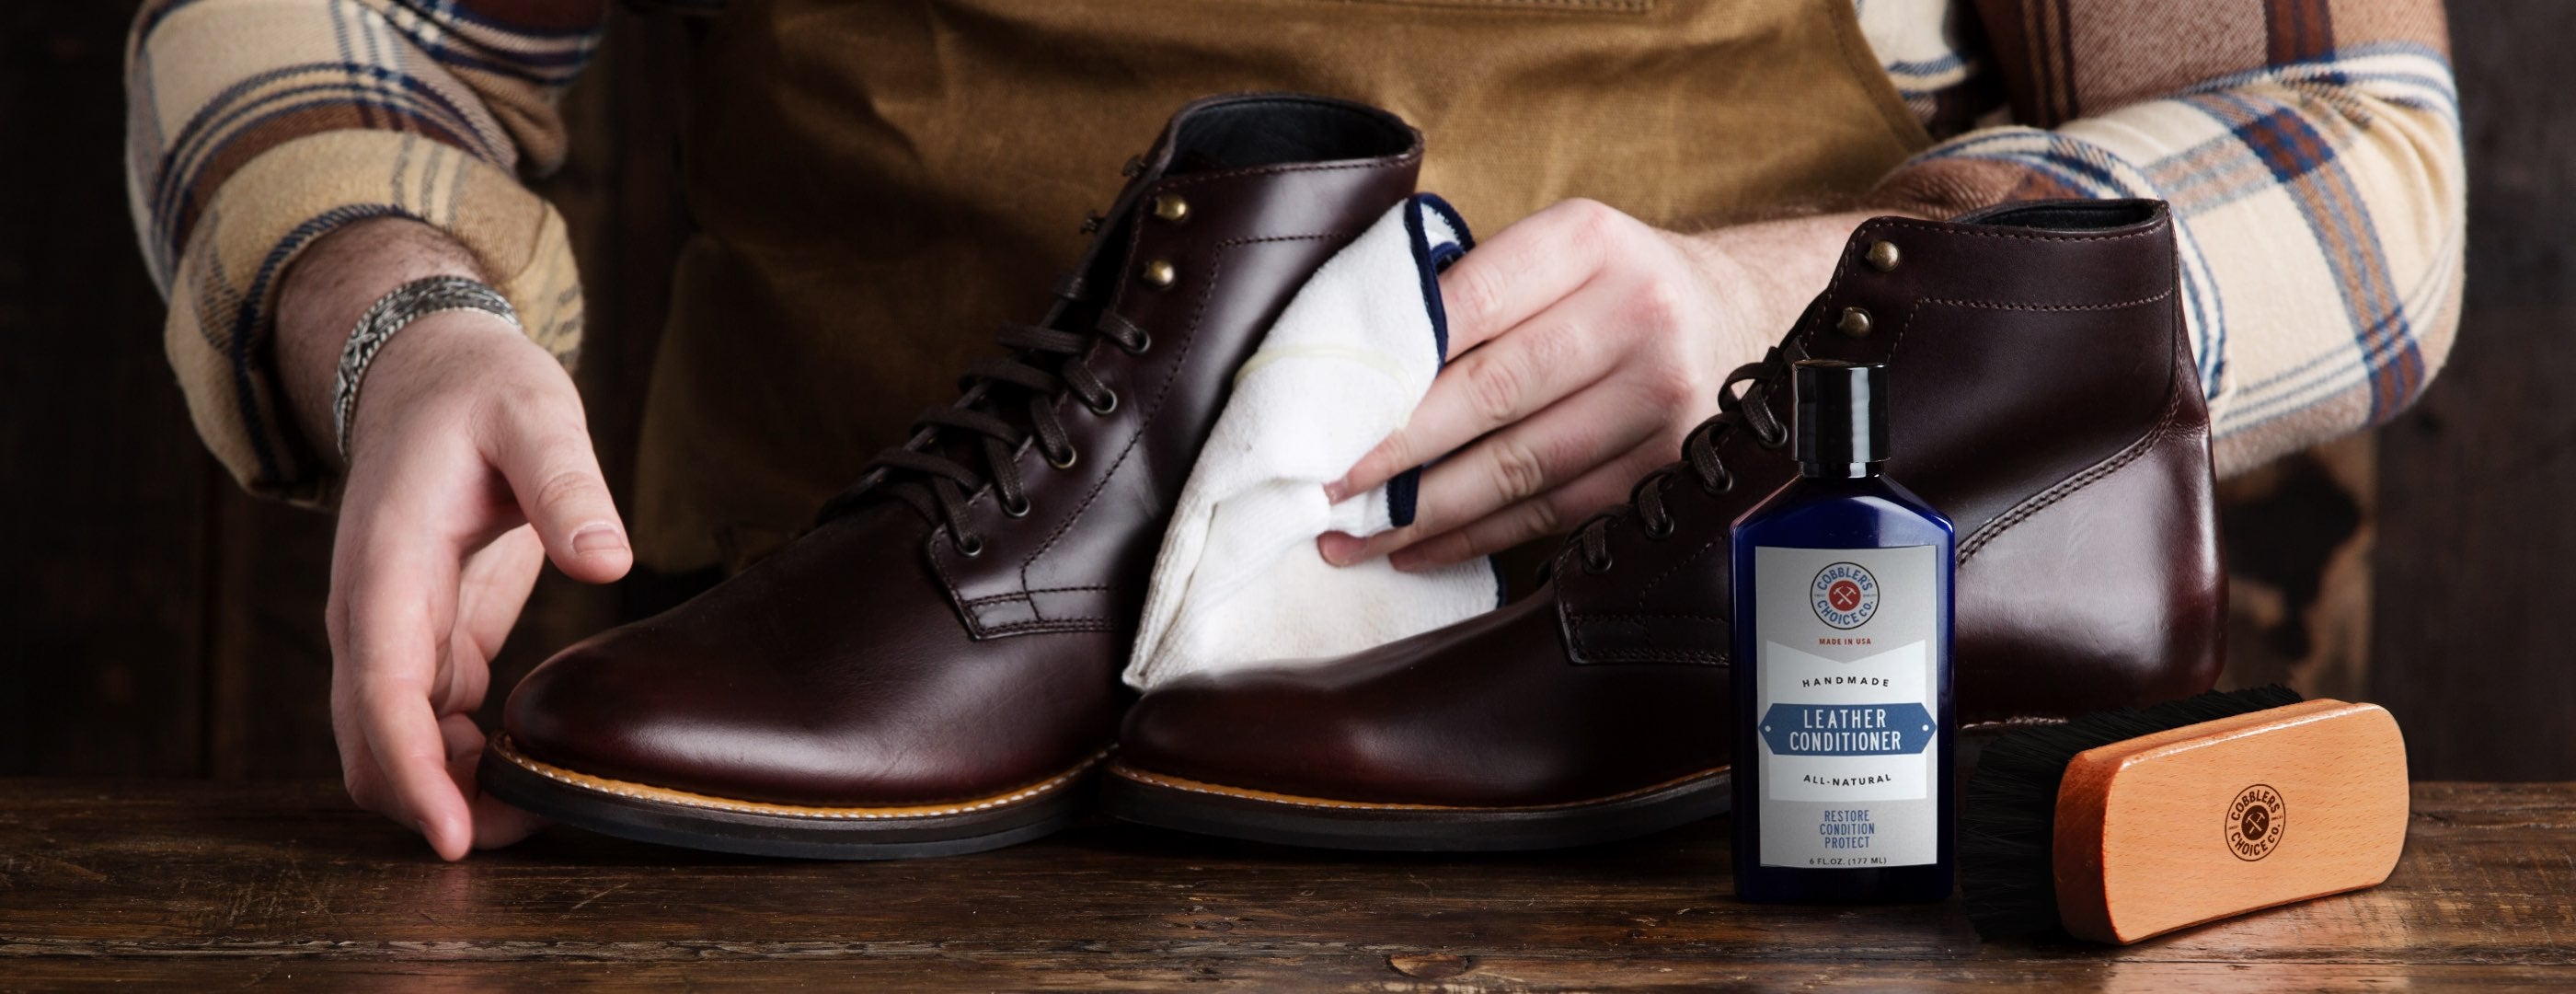
Image credit: cobblerschoiceco.com
Leather conditioner helps keep leather supple the same way it comes from the factory and protects it from drying or cracking. It does this by reducing friction and making leather flexible. You can use natural oils and waxes, but avoid silicones, which could dry the leather in the end. Next, follow these steps:
-
Clean the leather: Remove dirt and dust using a soft cloth or brush.
-
Apply the conditioner: Use a cotton ball to work in small, circular motions.
-
Let it soak in: Allow the conditioner to penetrate the leather; this might take a few minutes or several hours, depending on the product.
-
Buff if needed: If the leather feels greasy after conditioning, buff it gently with a clean cloth.
b. Using saddle soap
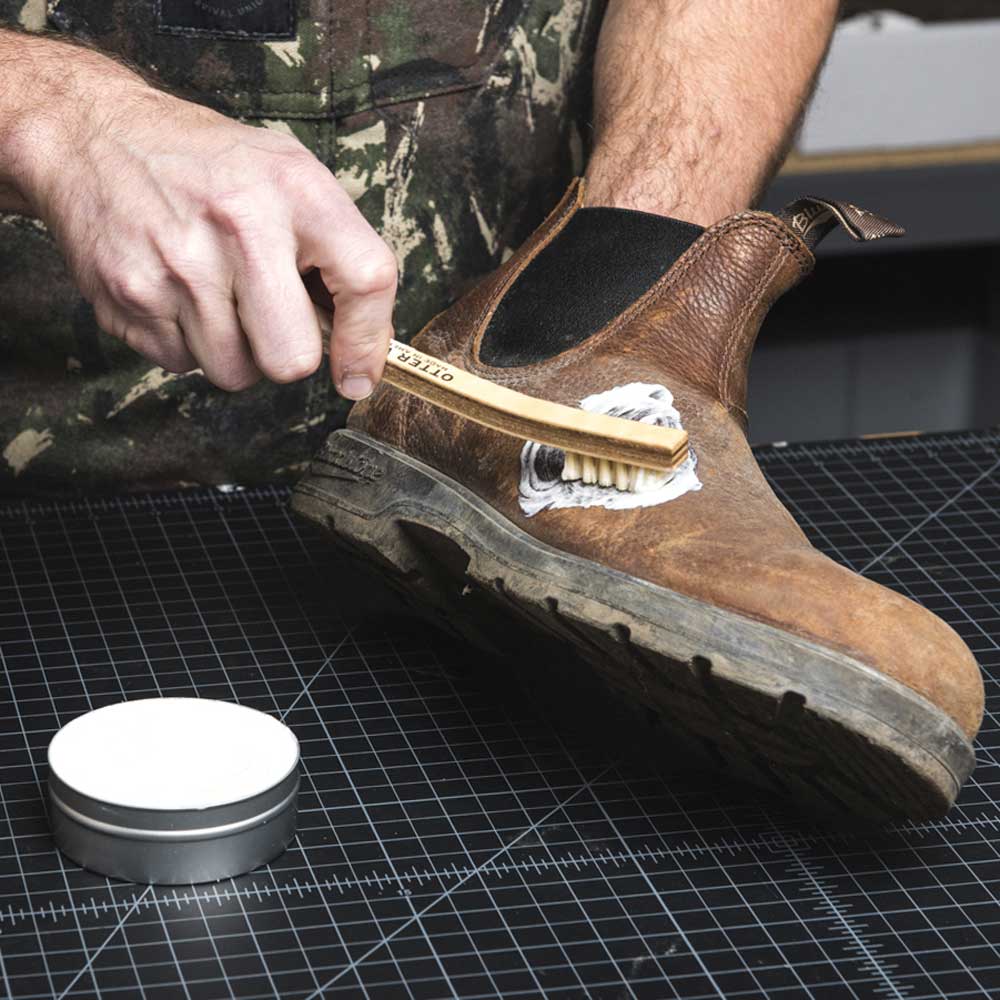
Image credit: otterwax.com
Saddle soap cleans and conditions the leather, preventing squeaks in the future. You will need some for this. You can get some in tins or sticks, along with a damp cloth or a gentle bristle brush for applying the soap. During the process, have a dry cloth on hand to wipe off any excess.
These are the steps:
-
Wet the brush or cloth: It should be damp, not soaked.
-
Rub in saddle soap: Work up a lather.
-
Scrub the leather gently: Apply the lather to the leather, scrubbing in circles.
-
Wipe with a damp cloth: Remove the soap residue.
-
Dry naturally: Allow the leather to dry at room temperature.
4. Handling Wet Shoes
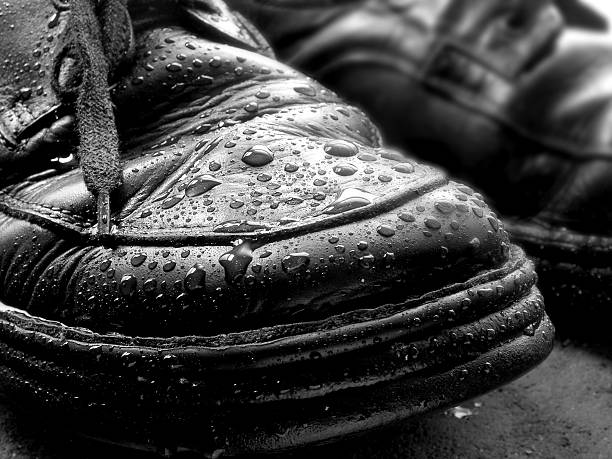
You should handle wet shoes very carefully as the moisture inside a shoe may squeak or lead to deformities, odours, or even mildew. If a shoe gets wet, the materials could stretch, warp, or they might start squeaking.
If your shoes are prone to getting wet, think about spraying or waxing them to make them waterproof. Squeaking problems may, however, be worsened by wearing shoes when wet. Let them dry fully before re-wearing them. To dry shoes, you will find below a guide about drying techniques, preventive measures and how to take care of them.
a. Drying naturally
When drying your wet shoes, there are various options you can explore, such as drying them naturally. So try out the following steps:
-
Remove excess water: Pat the shoes with a dry towel to remove as much water as possible.
-
Place in a well-ventilated area: Keep the shoes in a place with good air circulation but away from direct heat.
-
Use shoe trees: Shoe trees can help maintain the shoe's shape as it dries.
-
The time needed: Drying naturally may take several hours to a full day, depending on the material and how wet the shoe is.
-
Considerations: Avoid direct heat. Placing wet shoes near a heater or in the sun can cause the materials to dry too quickly, leading to cracking or deformation.
b. Stuffing with newspaper or absorbent material
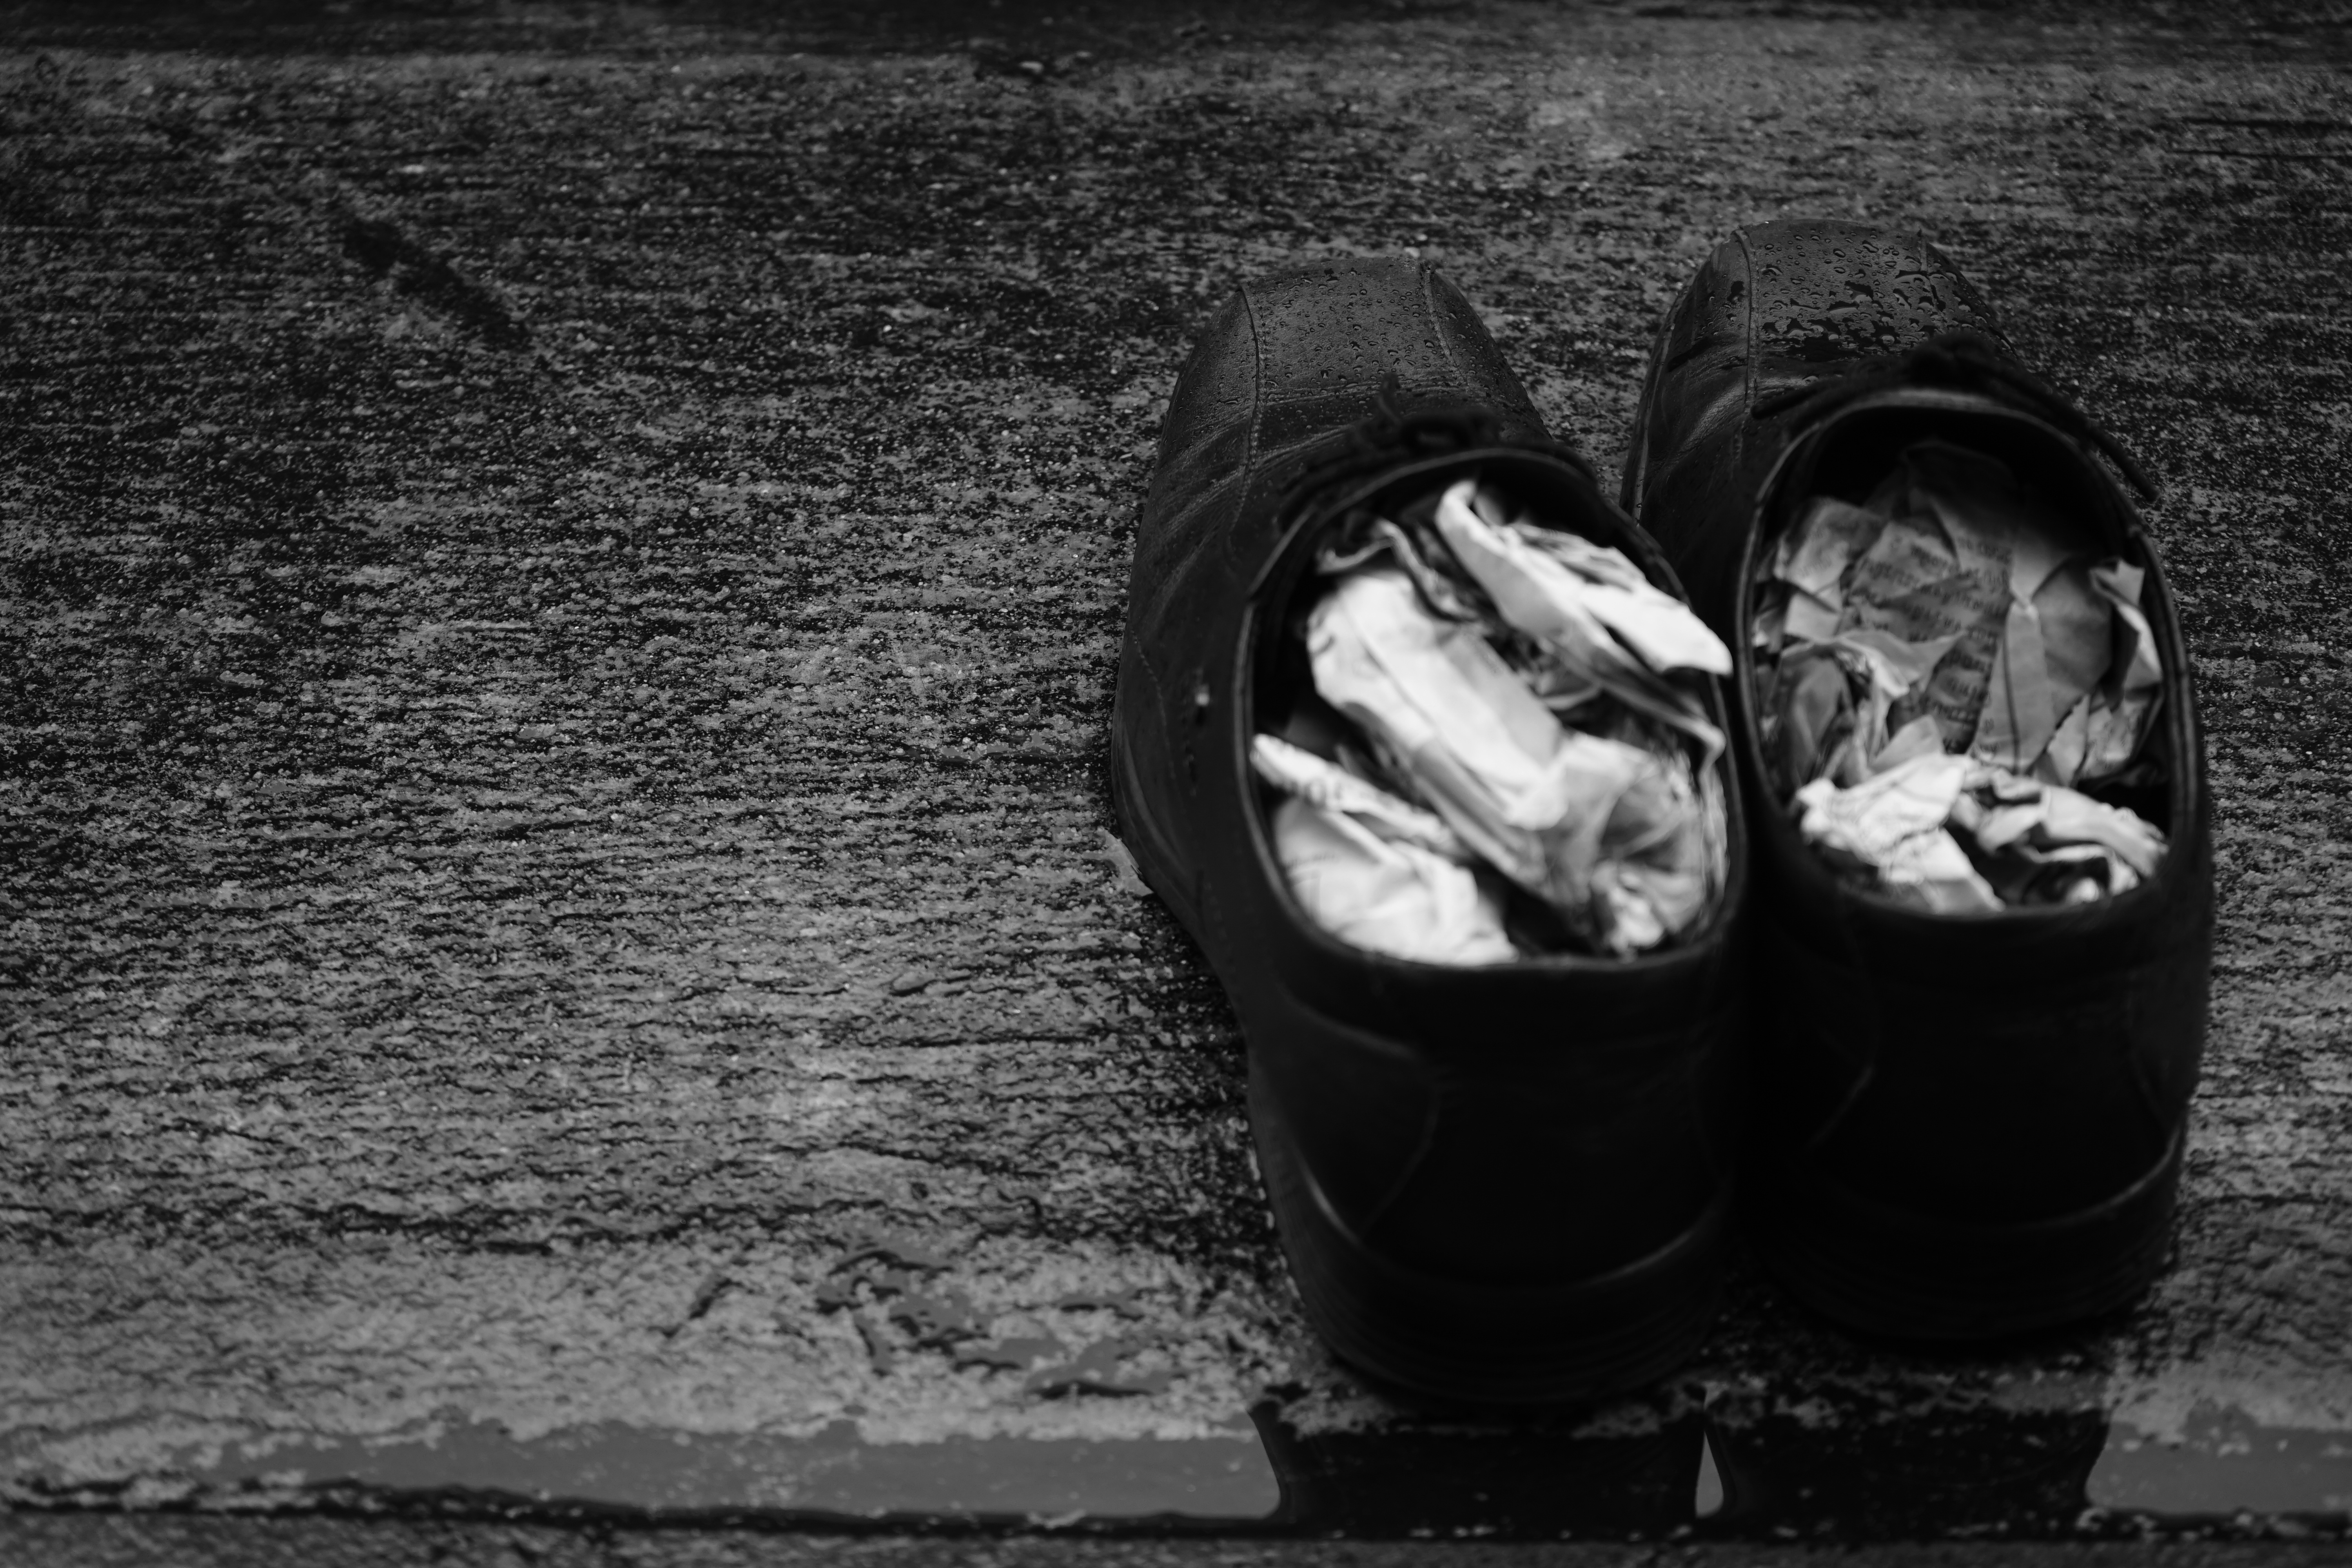
Image credit: supersports.co.th
Another option when drying your shoes is stuffing them with newspapers (an absorbent material which draws moisture from the shoe's interior). This method also helps the shoe keep its shape as it dries.
-
Wipe the shoe: Use a towel to remove as much moisture as possible.
-
Stuff with newspaper: Gently stuff the shoe with newspaper or another absorbent material like cloth.
-
Replace as needed: Change the newspaper or material as it becomes damp.
-
Allow to dry naturally: Let the shoe dry in a well-ventilated area.
c. Using a fan or dedicated shoe dryer
If you have a fan or a stand-alone shoe dryer available, you should use it to dry your wet shoes. Speeding up lets this work best by adjusting the fan’s speed. Maintaining the shape of the shoe also involves adjusting the fan’s speed.
-
Remove insoles: If possible, remove the insoles to dry separately.
-
Set up near a fan: Place the shoes near a fan or use a washing machine.
-
Monitor the drying process: Check the shoes regularly to prevent over-drying.
When to Replace Your Shoes

Even though these solutions can be quite effective, there are times when it's best to acquire new shoes. It's worthwhile to spend money on new shoes if your current ones are outdated, damaged, or unrepairable.
This is the real highlight of Vessi shoes. In addition to being long-lasting and sturdy, they are also constructed with cutting-edge technologies that stop common shoe issues like squeaking. No matter where life takes you, Vessi shoes for both men and women are designed to keep you comfortable and silent thanks to their lightweight, flexible soles and waterproof knit material.
Frequently Asked Questions on How to Fix Squeaky Shoes
a) Can you use baking soda for squeaky shoes?
Yes, baking soda can help with squeaky shoes; you just have to use it. You can reduce the squeaking by spraying baking soda inside the shoe. It will absorb moisture, also reducing friction. Sprinkle just a little baking soda into the shoe and shake it so it's spread right through.
Shake out the excess, leave it overnight, and wear it. Baking soda is a common household item, and it can provide a temporary fix, but only sometimes. It might not be suitable for all kinds of shoes, especially delicate ones.
b) Does wd40 fix squeaky shoes?
A quick fix for squeaky shoes is WD-40. The friction of parts often means shoe squeaking, and WD-40 lubricates to reduce that friction. A small amount can be sprayed on these squeaky areas, and the excess wiped off to temporarily fix the noise.
This might not be suitable for all types of materials, and overuse might result in the loss of certain shoe parts. Then, WD-40 can temporarily fix squeaky shoes, but always consult a footwear expert or follow the manufacturer's advice for a long-term fix.
c) Do shoes squeak when they are too big?
Squeaky shoes can be caused by many things, and one of them is having shoes that are too big. Shoes that are too big can make the feet slide and rub against the material, causing their squeaking noise. This has never mattered more if the inner soles are loose or if the shoe's material is sensitive to noise.
That, plus the increased movement, will also wear things where they don't normally get flung around by friction, resulting in more squeaking. If the shoe is too big, it would be best to consider replacing your everyday shoes.
Conclusion
Putting up with squeaky shoes doesn't have to be a chore. You can quickly restore your shoes and have a pleasant stroll if you use the proper techniques. You can recover your peace of mind by doing little adjustments like conditioning your leather shoes, checking for dampness, or adding baby powder.
Vessi shoes are your best option, though, if you're sick of putting up with squeaks and want a long-term fix. You won't ever have to worry about squeaks again thanks to their noise-free design, breathable knit fabric, and waterproof technology. With Vessi, you may walk with confidence and upgrade your shoes right now.


